Table of Contents
The first step to beginning JavaScript for the web is to learn about the Document Object Model, or DOM. The DOM is a model that describes how pages are structured, and how you can manipulate that structure.
In other words, understanding the basics of the DOM will make our lives easier in the future when we're creating new elements, altering them, styling them, and deleting them using JavaScript.
Structure
If you noticed from the class on HTML, the tags you wrote were almost always nested inside another tag. For example, your h1 tag was nested inside body, and then body was nested inside html.
The tree-like structure with children acting as branches is why the DOM is also referred to as the DOM tree.
You can clearly see the defined structure of any page by opening your Developer Tools. As a reminder, right-click and select Inspect.
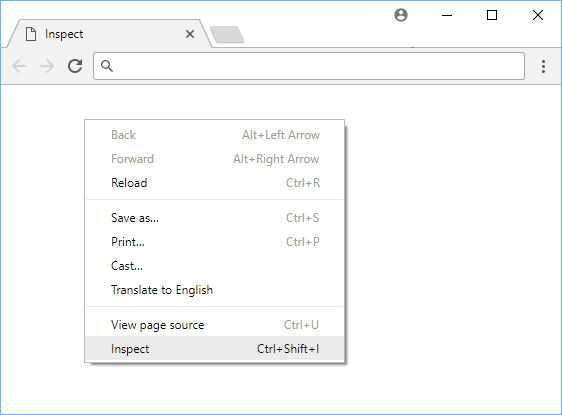 Reminder on how to access Developer Tools via Inspect.
All of what you see that makes up the page is the document. Using JavaScript, you can access the elements on the page via the document object that is exposed to you by your browser.
If you remember from our lesson on objects, you can very easily modify the properties of an object and the document object is no exception.
Getting Elements
Modern browsers allow you to easily get elements from the page. You can choose to get back a single element, and then perform some actions on it, or get back an entire list of elements and then perform multiple actions on them. You can also get back a list of elements that match a certain criteria.
Single Elements
Getting back a single element from the page is as easy as using the querySelector method on the document object. This method requires a string which is the selector you want to target.
Below is an example of how to get back an element by its ID, by its tag name, and by its class name.
HTML<!DOCTYPE html>
<html>
    <head>
        <title>querySelector</title>
    </head>
    <body>
        <div id="apple">Apples taste good.</div>
        <div class="pears">Pears also taste good.</div>
        <span>Same goes with oranges.</span>
        <script>
            const apples = document.querySelector("#apple");
            const pears = document.querySelector(".pears");
            const oranges = document.querySelector("span");

            console.log(apples);
            console.log(pears);
            console.log(oranges);
        </script>
    </body>
</html>
HTML<div id="apple">Apples taste good.</div>
<div class="pears">Pears also taste good.</div>
<span>Same goes with oranges.</span>
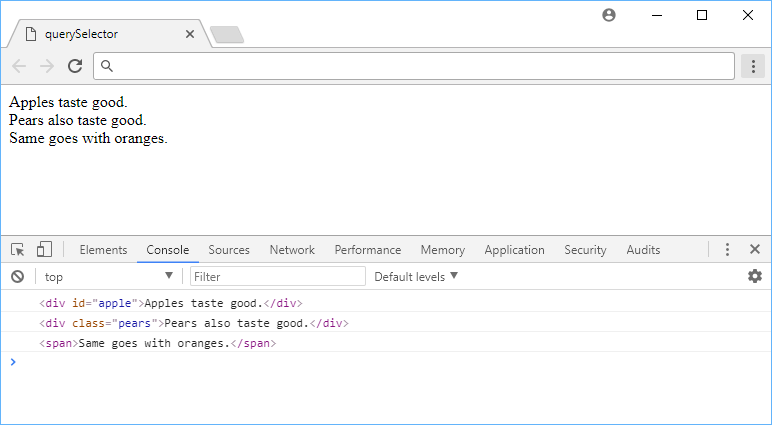 The output of printing the results of querySelector.
Because querySelector takes a string containing the selector, you can do everything you normally can do with CSS, including chaining them.
The method was designed to be flexible and versatile which puts you in full control of what element you want returned back.
Multiple Elements
Getting back a list of multiple elements is just as easy as getting back a single one. Just use querySelectorAll and give it the selector you want to target, and if there is more than one element that is targeted, they will all be returned back to you in a nice array.
Let's look at a simple example of this:
HTML<!DOCTYPE html>
<html>
    <head>
        <title>querySelectorAll</title>
    </head>
    <body>
        <div class="fruit">Apples taste good.</div>
        <div class="fruit">Pears also taste good.</div>
        <div class="fruit">Same goes with oranges.</div>
        <script>
            const fruits = document.querySelectorAll(".fruit");
            console.log(fruits);
        </script>
    </body>
</html>
HTML(3) [div.fruit, div.fruit, div.fruit]
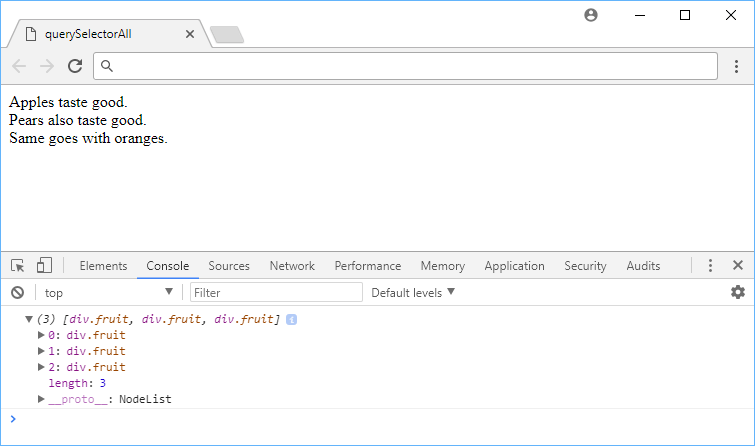 The output of printing the results of querySelectorAll.
When you print out fruits it was an array of three elements because there were three elements on the page with the class fruit, the same class we targeted inside querySelectorAll.
Creating Elements
Elements can be created by appending them to an existing element using JavaScript. Let's look at a simple example of creating a new span tag.
HTML<!DOCTYPE html>
<html>
    <head>
        <title>Date</title>
        <style>
            .date {
                font-weight: bold;
            }
        </style>
    </head>
    <body>
        <span>Today's date is </span>
        <script>
            const span = document.createElement("span");
            span.setAttribute("class", "date");
            span.textContent = new Date().toDateString();
            document.body.appendChild(span);
        </script>
    </body>
</html>
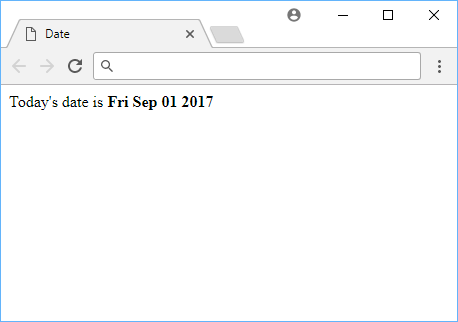 Adding the date to the page.
In just a couple of lines of code, we created a new element with the tag span, gave it the class attribute with a value of date, set its text to be today's date converted to a readable string, and then appended it to the body of the page.
If you were to open that file on a different day, the date would reflect that.
Removing Elements
Just like you can create new elements, you can also remove elements from the DOM tree.
HTML<!DOCTYPE html>
<html>
    <head>
        <title>Removing Elements</title>
    </head>
    <body>
        <div class="parent">
            <span class="kid">I am a kid that will be removed.</span>
            <span class="teen">I am a teen that will be removed.</span>
        </div>
        <script>
            const parent = document.querySelector(".parent");

            // Method #1
            const kid = document.querySelector(".kid");
            parent.removeChild(kid);

            // Method #2
            const teen = document.querySelector(".teen");
            teen.parentNode.removeChild(teen);
        </script>
    </body>
</html>
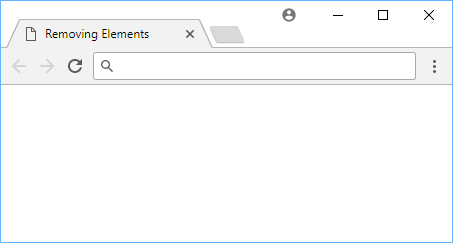 The page after removing elements.
There are two ways to remove elements, and both were shown. The kid was removed via method #1, where you simply tell the parent element to remove the child you specify.
Method #2, which is how the teen element was removed, didn't reference the parent directly. It simply called it's own property called parentNode which gets the parent, then you can pass itself as the child to be removed.
Resources
 Getting Started with Svelte
 Create an RSS Reader in Node
 Getting Started with Electron
 Best Visual Studio Code Extensions for 2022
 How to deploy a PHP app using Docker
 How to deploy a Deno app using Docker
 Getting Started with Deno
 Learn how to use v-model with a custom Vue component
 Getting Started with Moment.js
 Building a Real-Time Note-Taking App with Vue and Firebase
 Setting Up a Local Web Server using Node.js
 Using Axios to Pull Data from a REST API