In this tutorial, we'll learn how to use Node.js and the Google-built Puppeteer library to control an instance of headless Chrome and perform various tasks that we want it to. More specifically, we will learn how to use it to scrape a webpage for information that we want.
Other use cases for Puppeteer include automating manual testing, printing out screenshots of a page, and test Chrome Extensions.
Prerequisites
- Basic JavaScript knowledge is needed. If you need a refresher, check out our class on JavaScript.
- Node and NPM installed. If you don't have them installed, follow our how to install Node guide.
Installing Puppeteer
 Pretty cool, right?
Installing Puppeteer is as simple as running the npm install command:
BASHnpm install puppeteer
Now, create a new file, index.js, and import it at the top:
JAVASCRIPTimport puppeteer from "puppeteer";
Now we can try launching an instance of Puppeteer using the launch function:
JAVASCRIPTimport puppeteer from "puppeteer";

async function run() {
    const browser = await puppeteer.launch();
}

run();
Puppeteer is now running! Now we need to tell it to do something. We can have it launch a new page now.
JAVASCRIPTimport puppeteer from "puppeteer";

async function run() {
    const browser = await puppeteer.launch();
    const page = await browser.newPage();
}

run();
Now with our new page, we can have it navigate to a site. Let's try this site, why not?
JAVASCRIPTimport puppeteer from "puppeteer";

const url = "https://sabe.io/";

async function run() {
    const browser = await puppeteer.launch();
    const page = await browser.newPage();
    await page.goto(url);
}

run();
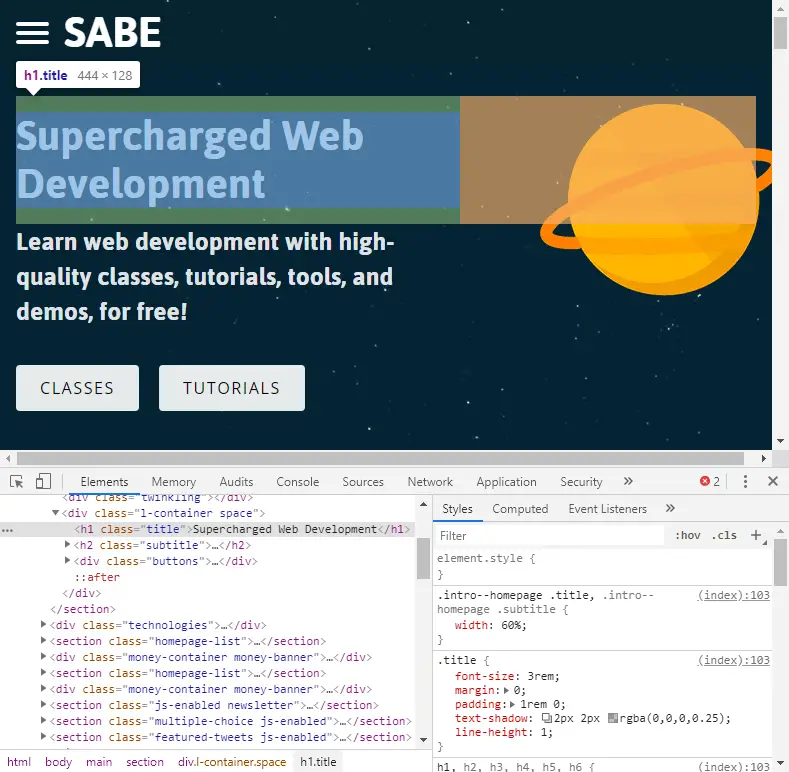
 The Sabe Homepage
Thanks to the goto method, we are now on this site's homepage using a headless instance of Chrome!
Scraping a Webpage
Now that we are at a webpage we want to scrape, we only need to run the evaluate function on the page, and give it a callback function that performs that actions we want to perform on that page.
JAVASCRIPTimport puppeteer from "puppeteer";

const url = "https://sabe.io/";

async function run() {
    const browser = await puppeteer.launch();
    const page = await browser.newPage();
    await page.goto(url);

    const result = await page.evaluate(() => {
        return document.querySelector("h1").innerText;
    });

    console.log(result);
}

run();
 The h1 tag on the Sabe Homepage
For the sake of example, I've chosen a simple example, simply getting back the h1 tag of the homepage. Because we are working with a document, we have access to the document object just like you would in the console of your actual browser. Because of this, we can use the same selectors we would otherwise.
After we get the text, we can simply return it so that it gets stored in the result variable and then we can log it to our console.
You should see this if all went well:
HTMLBecome a better developer
Conclusion
Puppeteer's API is incredibly powerful and that was truly just a small taste at what you can do with it. You can use it to fully fill out forms, perform complex tasks manually, render entire single-page applications, and of course, scape data from websites. Do check out the below resources to learn more about this great tool!
Resources
 Getting Started with Solid
 Managing PHP Dependencies with Composer
 Getting Started with Svelte
 Best Visual Studio Code Extensions for 2022
 How to build a Discord bot using TypeScript
 Getting Started with Sass
 Using Puppeteer and Jest for End-to-End Testing
 Using Push.js to Display Web Browser Notifications
 Building a Real-Time Note-Taking App with Vue and Firebase
 Getting Started with React
 Setting Up Stylus CSS Preprocessor
 How To Create a Modal Popup Box with CSS and JavaScript
