Docker is a popular open-source technology for running applications in a containerized environment. This is useful because it allows you to easily scaffold and deploy applications to any platform that supports Docker. In this tutorial, we will learn how to build a Node application that can be run in a Docker container. We will do this by building a Docker image and run it as a container.
What is Node?
Before we begin, we need to understand what Node is. Node is a JavaScript runtime that allows you to write applications in JavaScript. It is a popular technology for building web applications and APIs. Running Node applications in a containerized environment is a great way to get started with Docker because it allows you to easily deploy applications to any platform that supports Docker.
Prerequisites
- Basic knowledge of JavaScript.
- Basic ability to use a command line interface.
- Node and NPM installed. If you don't have them installed, follow our how to install Node guide.
Installing Docker
You will also need to install Docker.
- Visit the official Docker website to get the installer.
- After it downloads, run the installer until the end.
- Restart your computer to ensure the changes can take effect.
 The Docker installer.
Directory Structure
By the end of this tutorial, our application will be in the following directory structure:
BASHapp
├── .env
├── app.js
├── docker-compose.yml
├── Dockerfile
└── package.json
As you can see, it's a simple application with a few files for the purposes of this tutorial.
Node app
This tutorial assumes that you already have a Node app that you want to deploy on a Docker container, however we will build a very minimal one from scratch.
Run npm init to initialize a new project. Follow the instructions until you have a basic Node project. This should set up a package.json file for you at the end.
Create a file named app.js in the root directory of your folder.
JAVASCRIPTimport { createServer } from 'http';

const hostname = '127.0.0.1';
const port = 3000;

const server = createServer((req, res) => {
    res.statusCode = 200;
    res.setHeader("Content-Type", "text/plain");
    res.end("Hello World");
});

server.listen(port, hostname, () => {
    console.log(`Server running at http://${hostname}:${port}/`);
});
This app will run a simple HTTP server that will respond with a plain text message on port 3000. Before using Docker, you can test this app by running it, then visiting the URL http://localhost:3000/.
BASHnode app.js
BASHServer running at http://127.0.0.1:3000/
 The Node app running on port 3000.
It's simple, nothing crazy, however, now that it is running, we will need to make one minor tweak to the code to make it compatible with Docker. You will need to change the hostname from 127.0.0.1 to 0.0.0.0. This is because when apps run in a Docker container the IP 127.0.0.1 is assigned to the Docker container, not the host. Changing this to 0.0.0.0 will allow us to directly access the app from the host.
Docker Overview
Before we continue, let's run through a quick overview of how Docker works. As said before, Docker is a containerization technology that makes it easy to create, deploy, and run applications inside containers.
A Docker container is a lightweight, portable, and isolated unit of software. It is a single process that runs on a single computer. It is designed to run a specific application, such as a web server, or a database.
A Docker image is a blueprint for a Docker container. It is a collection of files and commands that can be used to create a Docker container, and it is stored inside of a file called Dockerfile. The instructions in this file are used to create an image.
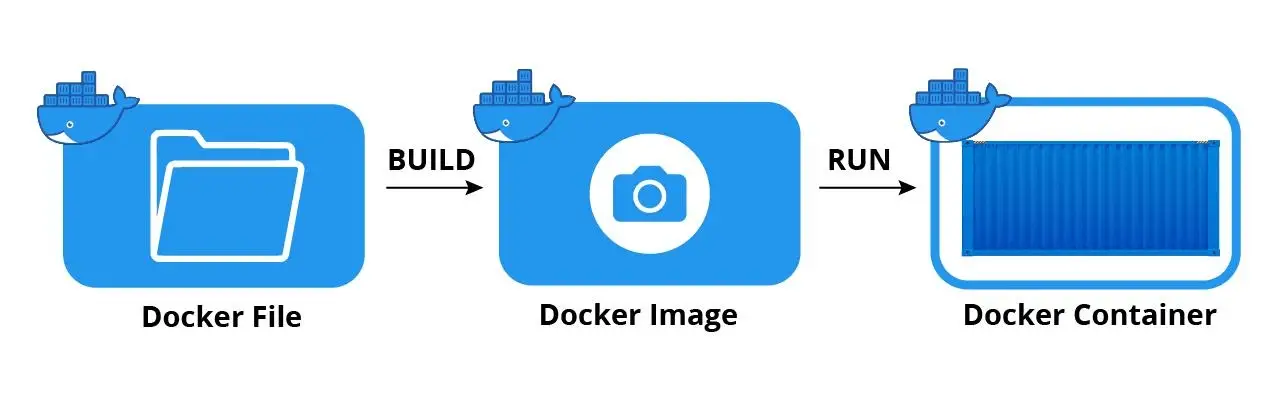 Docker overview
Docker Compose
Now that we have an app to deploy and the basic terms for Docker defined, let's deploy it on a Docker container. There are several ways to do this, but the easiest way is to use the Docker Compose tool. It comes with Docker, so you should already have access to it.
Create a file named docker-compose.yml in the root directory of your folder.
YMLversion: "3.9"

services:
    app:
        container_name: app
        image: app
        restart: always
        build:
            context: .
            dockerfile: Dockerfile
            target: base
        ports:
            - "${PORT}:${PORT}"
Let's breakdown what's going on here. This file tells Docker to create a service called app that runs the image app with container name app and exposes the port that we will later set to 3000. The actual instructions for building the image are in the Dockerfile file.
Dockerfile
Create a file named Dockerfile in the root directory of your folder.
DOCKERFILEFROM node:alpine as base

WORKDIR /app

COPY package.json yarn.lock ./

RUN rm -rf node_modules && yarn install --frozen-lockfile && yarn cache clean

COPY . .

CMD ["node", "./app.js"]
When you take it line by line, it's actually straightforward.
DOCKERFILEFROM node:alpine as base
This tells Docker to get the latest version of the node Docker image running on Alpine Linux and name this image base.
DOCKERFILEWORKDIR /app
This tells Docker to switch to and run the app in the /app directory.
DOCKERFILECOPY package.json ./
This tells Docker to copy the package.json and yarn.lock files to the root of the container's working directory.
DOCKERFILERUN rm -rf node_modules && yarn install --frozen-lockfile && yarn cache clean
This will ensure that the installations of your dependencies are up-to-date. In our basic example, we have no dependencies however your app likely does.
DOCKERFILECOPY . .
This tells Docker to copy everything in the root directory of the project to the /app directory of the container.
DOCKERFILECMD ["node", "./app.js"]
This tells Docker to run the app.js file in the /app directory, essentially running the Node app.
Env file
Before we can deploy our app on a Docker container, we need to set up the environment variables that we will need to run the app. Create a file named .env in the root directory of your folder.
Since we defined the port as a variable in the docker-compose.yml file, we need to set the port in the .env file.
BASHPORT=3000
Running the app
Finally we are ready to deploy the app on a Docker container. To do so, use Docker Compose.
BASHdocker compose up --build
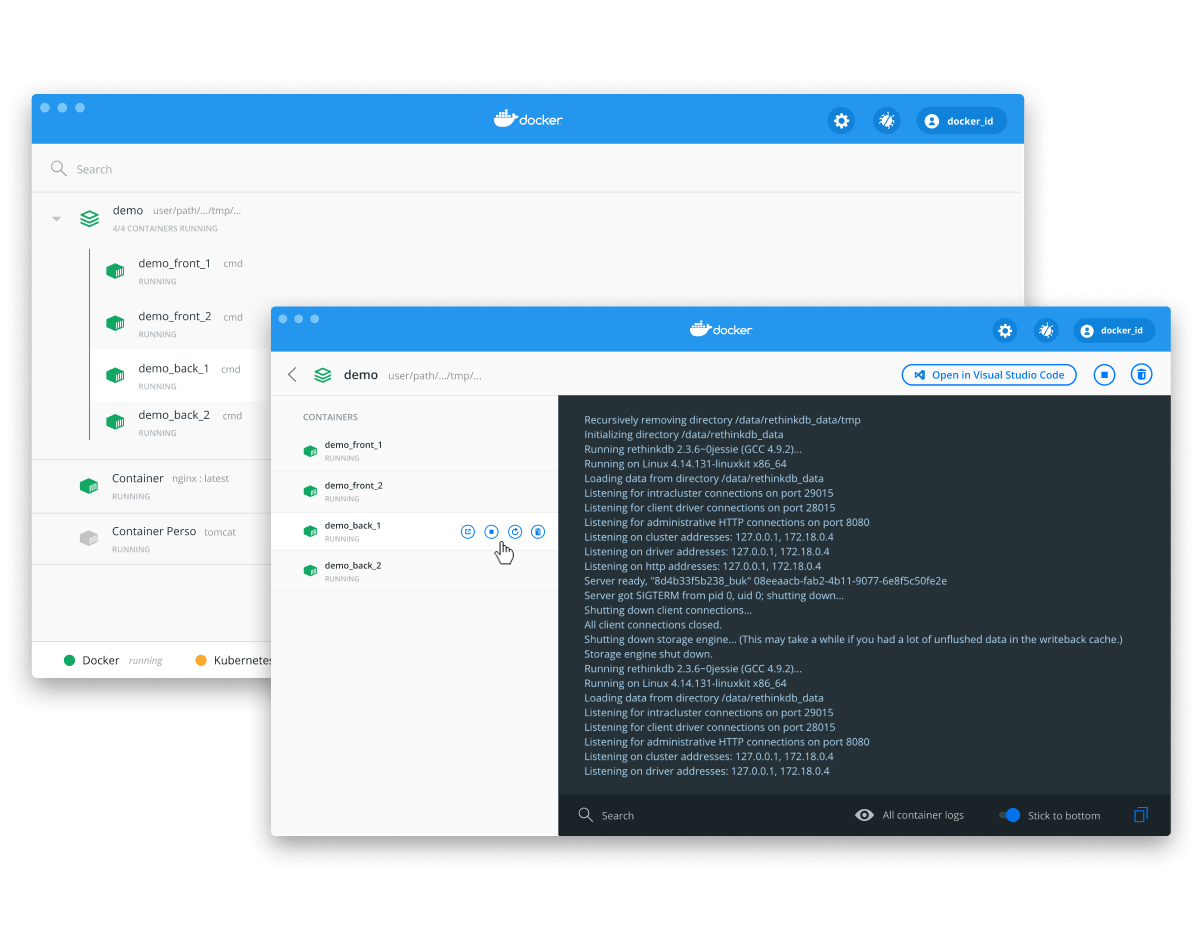
On the first build, you don't need the build flag, but you will in subsequent runs. If successful, you should see something like this:
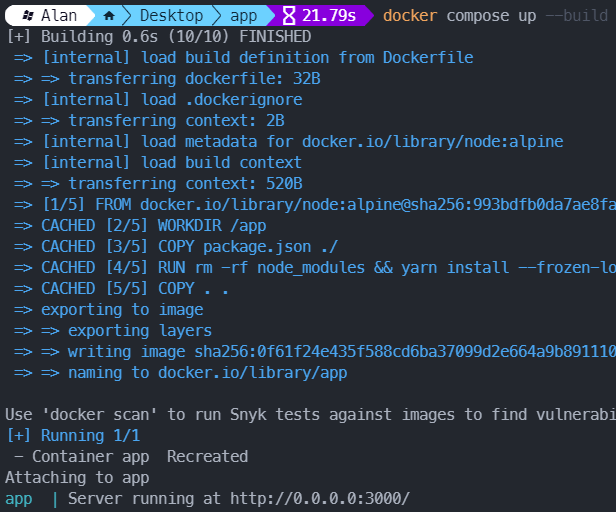 The Docker Compose output.
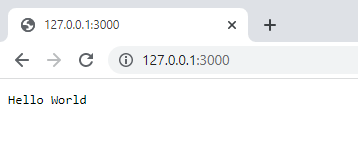
The app is now built and accessible at http://localhost:3000/ just like before, however now the app is running in Docker.
The Node app running on port 3000.
You can confirm the container is running in Docker, along with all of the other containers that are running by using the docker ps command.
BASHdocker ps
BASHCONTAINER ID IMAGE COMMAND                CREATED       STATUS       PORTS                  NAMES
ba804e8bff5f app   "docker-entrypoint.s…" 5 seconds ago Up 5 seconds 0.0.0.0:3000->3000/tcp app
You can stop the running container by then running docker compose down.
Deploying to Production
Now that your Node app has been containerized successfully, it is ready to be deployed to whatever environment you want. This tutorial showed how to deploy it on your own machine, however, this Docker container can be deployed on a staging environment, remain local, or be deployed to a production environment.
To deploy it to production, you will need some kind of server or hosting platform to host the app. There are several different options for hosting, each with their pros and cons. In addition, if your app is a web app, it will likely need a domain as well. Either way, containerizing your app using Docker is becoming the industry standard and it will certainly help you get your app accessible to your users.
Conclusion
Docker is a powerful tool for a developer to learn and use. As you saw, with just a few lines in your Dockerfile, you can set up a full-blown Node app. This makes deploying the app anywhere you want a breeze. I hope this tutorial has helped you get a better understanding of Docker and Docker Compose. Happy deploying!
 Docker's hot for a reason though!
Resources
 Getting Started with TypeScript
 Managing PHP Dependencies with Composer
 Getting Started with Express
 Best Visual Studio Code Extensions for 2022
 How to deploy a PHP app using Docker
 How to deploy a MySQL Server using Docker
 How to deploy an Express app using Docker
 How to Scrape the Web using Node.js and Puppeteer
 Getting Started with Handlebars.js
 Getting Started with Moment.js
 Getting Started with React
 Setting Up a Local Web Server using Node.js