 The logo for Slack!
In this tutorial, we will be learning how to build a simple Slack bot that replies back a random greeting when you say "hi" or "hello". The bot will be written in JavaScript in conjunction with Node.js!
Here's a look at the bot in action:
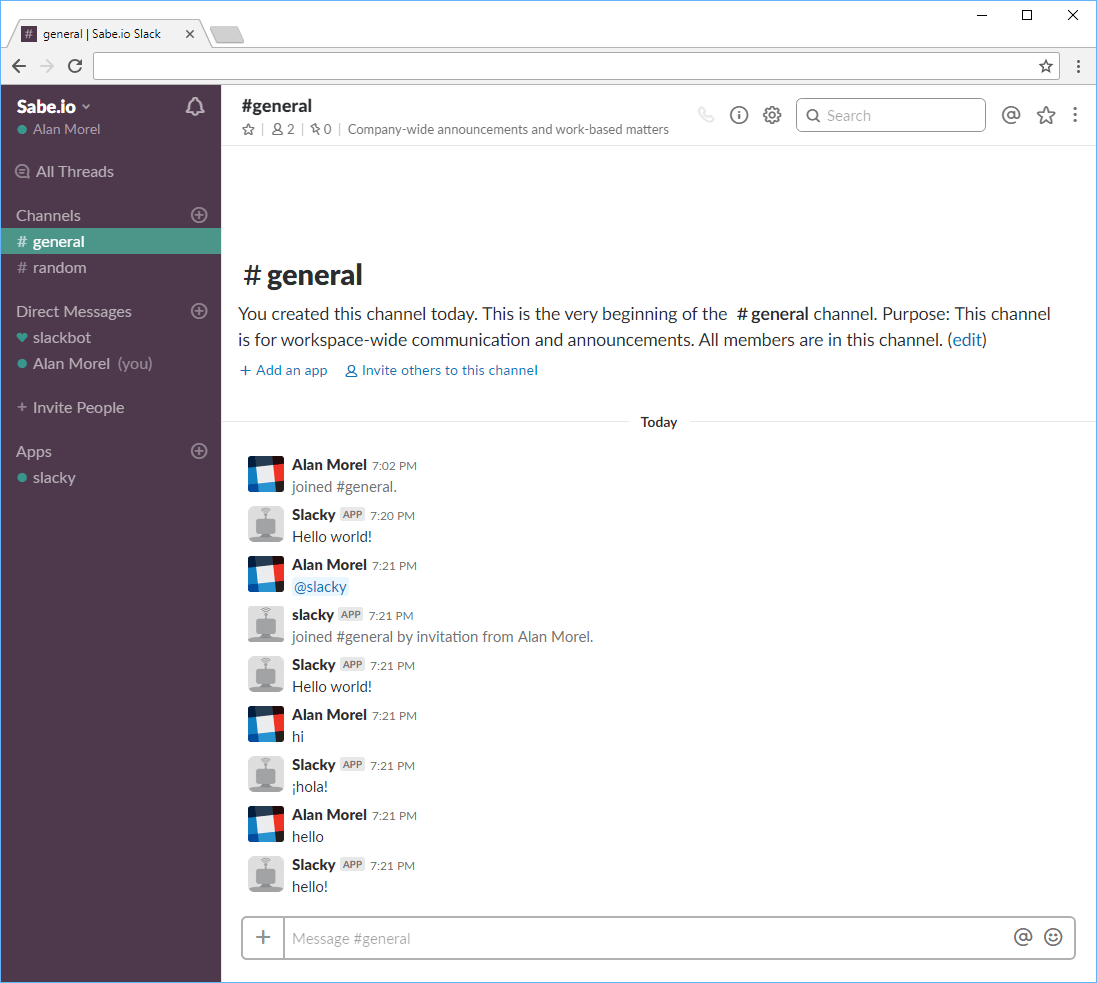 A look at our finished Slack bot
Before we get started, please ensure you meet the prerequisites for this tutorial:
Prerequisites
- Since the bot is written in JavaScript, basic knowledge of JavaScript would be helpful.
- A Slack account and active Slack instance to deploy your bot on.
- Node and NPM installed. If you don't have them installed, follow our how to install Node guide.
Initializing our Project and Installing Slackbots.js
Create a folder anywhere you'd like to serve as the root directory for your bot. Navigate to that folder and initialize a new project by running
BASHnpm init
Feel free to enter in whatever information you'd like. After that finishes running, you will be left with a file called package.json.
Now, to simplify our interactions with Slack's Real Time Messaging API, we will be using the Slackbots.js library. To install Slackbots.js for use in our project, run the installation command:
BASHnpm install slackbots
We are now ready to use Slackbots.js in our code!
Creating a New Slack bot
Let's register a new bot on our slack instance. Head on over to:
HTMLhttps://instance.slack.com/services/new/bot
Replace instance with the name of your Slack instance. Once here, give your bot a name. We'll call our bot Slacky.
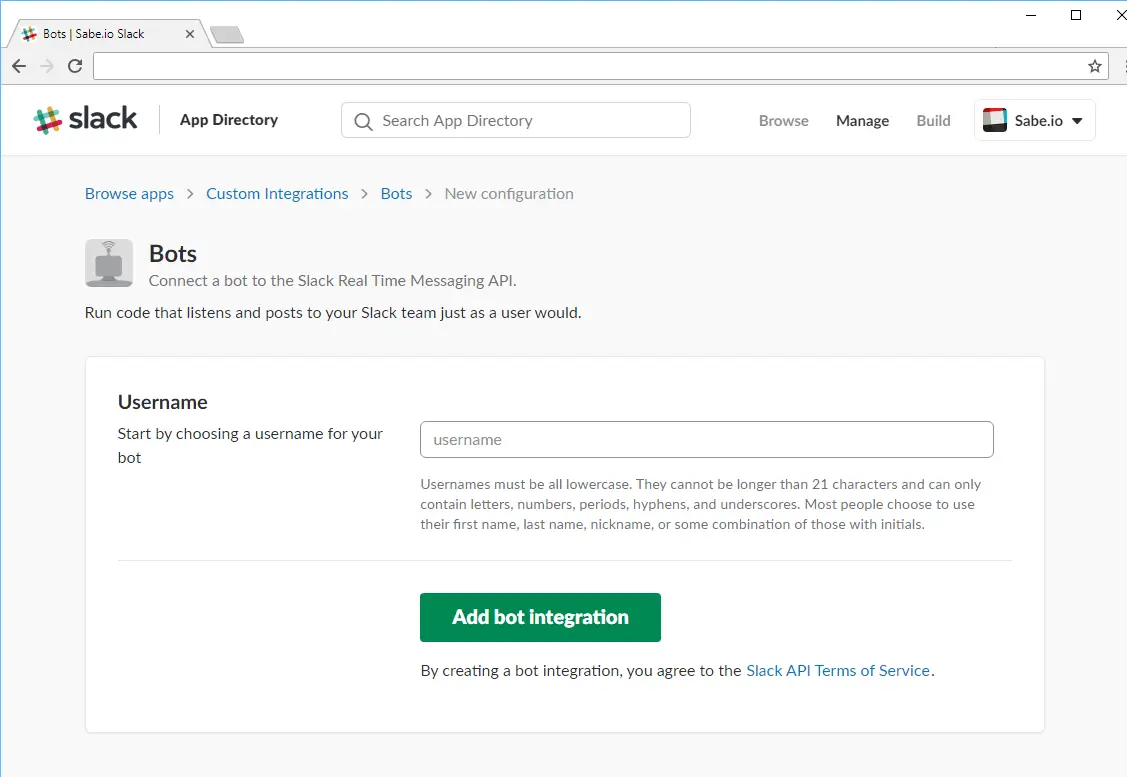 Creating a new Slack bot.
After you hit Add bot integration, you'll be provided with your bot's API token. You'll need this later on so save this somewhere. Additionally, you can also change the name of your bot, upload an icon, and set what channels your bot will operate inside.
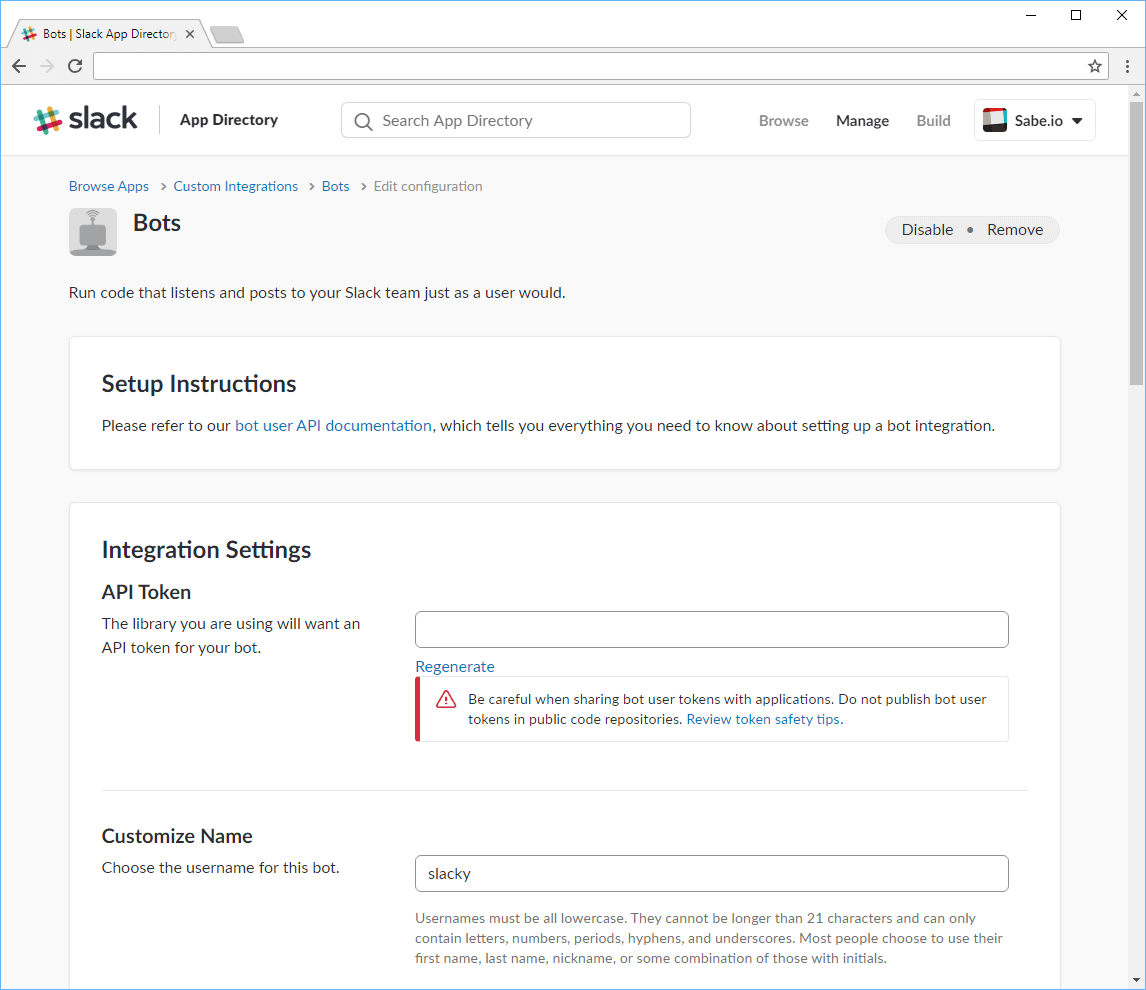 The Slack bot settings page.
Building our Bot
In the same directory that your package.json lives in, create a new file called index.js. This file will serve as the code for your bot.
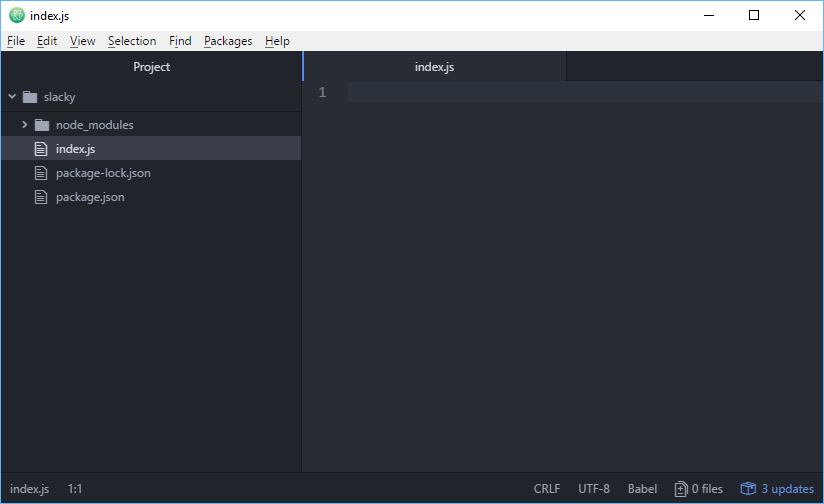 The project's folder structure.
Let's create a bot using Slackbots.js:
JAVASCRIPTimport SlackBot from "slackbots";

const bot = new SlackBot({
    token: "",
    name: "Slacky"
});
That's all we need to have a functional bot. Fill in the token value with the API token you got earlier and you're good to go. To test that this all works, let's make the bot send us a message upon start-up:
JAVASCRIPTimport SlackBot from "slackbots";

const channel = "general";

const bot = new SlackBot({
    token: "",
    name: "Slacky"
});

bot.on("start", function() {
    bot.postMessageToChannel(channel, "Hello world!");
    console.log("Hello world!");
});
Our new code has our bot listen on the start event which is fired when a connection to Slack is established. Once the event fires, it will run the provided function. In that function, we tell our bot to send the text Hello world! to the channel you defined in the channel variable. Finally, we threw in a console.log just for good measure.
Now it's time to run our bot. To do so, simply run your index.js file by running this command at the same directory:
BASHnode index.js
If everything went well, not only should you see Hello world! printed on your console, but if you go to the designated channel on Slack, you should also see your bot having said Hello world!.
 Console after running our Slack bot.
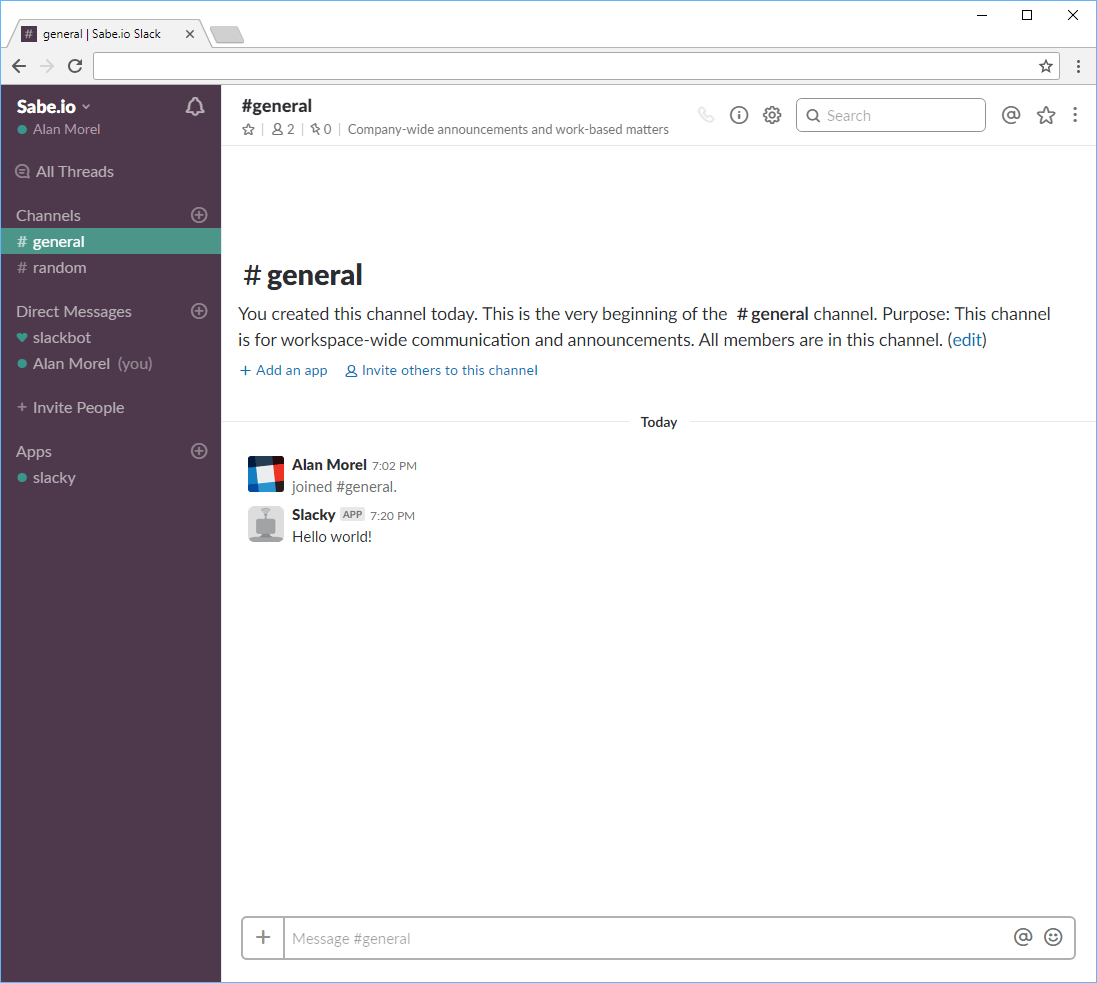 Our Slack bot saying hello world in chat.
Making Your Slack Bot Reply
Great so our bot works now, but let us make it do something more than simply say a single line of text upon start up. Let's make our friendly slack bot reply to use a random greeting when we say hi or hello in the same channel that the bot operates in.
To respond to messages we must first listen on the message event.
JAVASCRIPTbot.on("message", function(data) {

});
However, a "message" according to the Slack API isn't necessarily a message of text sent. A "message" is more like a generic event that could be basically anything. The bottom of this page has a list of all events. Before of this, we must specifically look into events that are the type message, like so:
JAVASCRIPTbot.on("message", function(data) {
    if (data.type !== "message") {
        return;
    }

    // this event was a text message sent
});
Because we are ignoring events that aren't messages by immediately returning, we can now safely continue on with events that are messages:
JAVASCRIPTbot.on("message", function(data) {
    if (data.type !== "message") {
        return;
    }

    handleMessage(data.text);
});
We're passing in the text contained in the message event to a new function called handleMessage which we will now define. Again, this function should only reply back with a greeting if we said either hello or hi:
JAVASCRIPTfunction handleMessage(message) {
    switch(message) {
        case "hi":
        case "hello":
            sendGreeting();
            break;
        default:
            return;
    }
}
Here we are using a switch case statement to precisely match the string sent. This makes it super easy to add more words to trigger a greeting since all you need to do is add another case for it. If the message matched, we call sendGreeting() to send the reply.
With that being said, let's now define sendGreeting():
JAVASCRIPTfunction sendGreeting() {
    const greeting = getGreeting();
    bot.postMessageToChannel(channel, greeting);
}
The function is that simple. First you get the greeting via getGreeting(), set it to a new variable called greeting, and then you send the greeting to the designated channel like before.
The final step left for this bot is to define the getGreeting() function that randomly returns a greeting:
JAVASCRIPTfunction getGreeting() {
    const greetings = [
        "hello!",
        "hi there!",
        "cheerio!",
        "how do you do!",
        "¡hola!"
    ];
    return greetings[Math.floor(Math.random() * greetings.length)];
}
We define a greetings array with five greetings, but feel free to add more if you'd like. Then we randomly select an element to return for our bot to reply back with. That's all the work that needs to be done for this!
Running your Slack bot
Let's put all these pieces together to get our friendly bot fully working. The final code for index.js should look something like this:
JAVASCRIPTimport SlackBot from "slackbots";

const channel = "general";

const bot = new SlackBot({
    token: "",
    name: "Slacky"
});

bot.on("start", function() {
    bot.postMessageToChannel(channel, "Hello world!");
});

bot.on("message", function(data) {
    if (data.type !== "message") {
        return;
    }

    handleMessage(data.text);
});

function handleMessage(message) {
    switch(message) {
        case "hi":
        case "hello":
            sendGreeting();
            break;
        default:
            return;
    }
}

function sendGreeting() {
    const greeting = getGreeting();
    bot.postMessageToChannel(channel, greeting);
}

function getGreeting() {
    const greetings = [
        "hello!",
        "hi there!",
        "cheerio!",
        "how do you do!",
        "¡hola!"
    ];
    return greetings[Math.floor(Math.random() * greetings.length)];
}
Save your file and again run this command to run your bot:
BASHnode index.js
Now when you try saying one of the two designated words to trigger a greeting, you should get a reply back from your Slack bot, like so:
 Our finished Slack bot in action, Slacky!
If you're happy with your Slack bot, and want to deploy it on Docker, read our How to deploy a Node app using Docker tutorial. You can deploy your Slack bot in production very easily once you've deployed it using Docker.
Conclusion
In this tutorial, we have seen how we can use Node.js with Slackbots.js to create a very simple Slack bot that replies back a randomized greeting whenever we say hi or hello in chat. Of course, this functionality is just a very basic example intended to help you get started. The potential for your bot is limitless. Since we are using Node.js, you can do things like request data on the background or call other APIs and then have the bot return that information to you seamlessly.
For more information, we highly recommend that you read up on both the documentation for Slackbot.js and the Slack's Real Time Messaging API as well so that you can be even more familiar about just what you can create.
We hope that this tutorial has been helpful to you. If so, please consider sharing this so that others may also get the same benefit.
Thanks for reading!
Resources
 Getting Started with TypeScript
 Getting Started with Solid
 Managing PHP Dependencies with Composer
 Git Tutorial: Learn how to use Version Control
 How to build a Discord bot using TypeScript
 How to deploy a MySQL Server using Docker
 Getting Started with Sass
 Getting Started with Handlebars.js
 Getting User Location using JavaScript's Geolocation API
 Getting Started with React
 Getting Started with Vuex: Managing State in Vue
 Setting Up a Local Web Server using Node.js

